Start blogging in 5 minutes on Netlify with Hugo and blogdown (September 2019 Update)
This guide will help you to get your website online in a few minutes. Then, customize and add your own material in RStudio environment, push it to your Github repository and benefit from the continuous deployment feature of Netlify. It took me many days of work, reading tens of blog posts, YouTube videos and a lot of testing to figure out all of this.
Here is an up to date workflow of how I created my Blog on Github and deployed at Netlify.
Tools we need;
- RStudio
- Hugo
- Blogdown
- Git
- Github
- Netlify
Hugo is the actual website builder and blogdown is an R package that allows us to use Hugo in R environment.
On RStudio: Build your website locally.
- Select File menu
- Select New Project -> New Directory -> Website using blogdown
For example, to create a new site with the academic theme replace default lithium Hugo theme with gcushen/hugo-academic
For other themes go to http://themes.gohugo.io, choose a theme you like, click homepage and you will be redirected to its github repository.
Replace its repository name with “gcushen/hugo-academic” above)
blogdown::serve_site()
command will create the website and it should be visible on the viewer pane.
Use list.files() to see the files/folders generated.
Prepare for GitHub compatibility
To be able to publish the website on github we need to specify a docs folder instead of the default public folder where the website is created.
Open your config.toml file under the Website folder, and add the lines;
baseurl = "https://yourusername.github.io/page/"
publishDir = "docs"
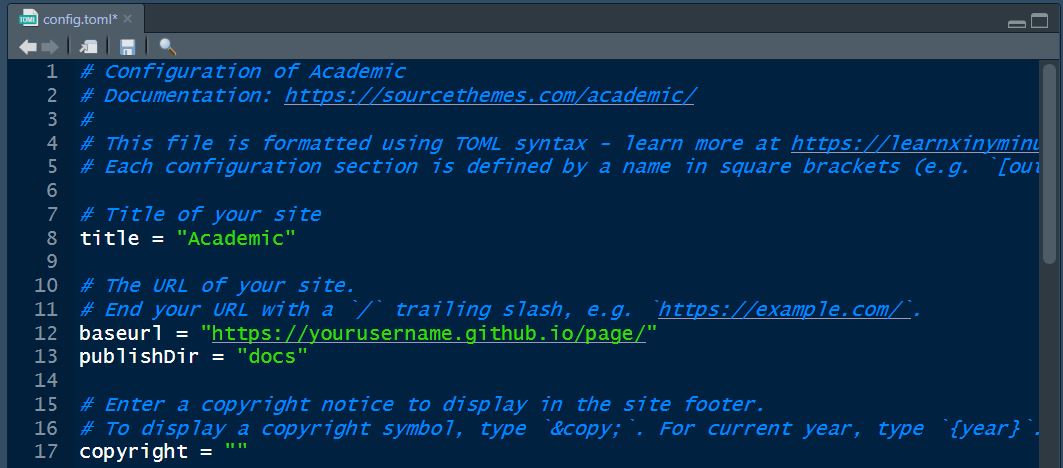
Save the config file. This will rebuild the site and create the docs folder. Now you can go back to your folder and delete the public directory.
On Github account
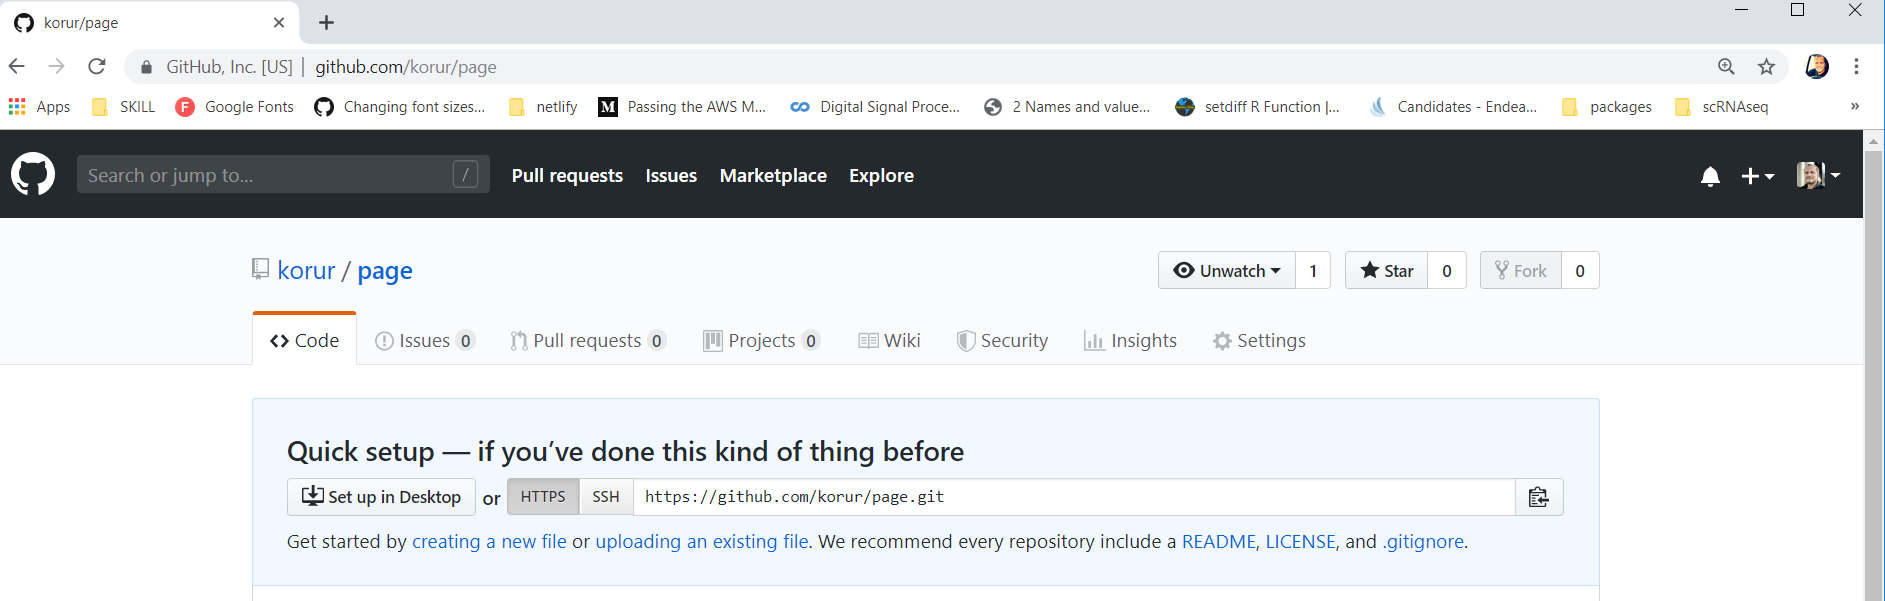
Create a new repository
Log in to your Github account and create a new repository.
Here I called it page.
Then your remote repository will be at
https://github.com/yourusername/page.git
Copy that link.
On Git
Create your local .git repository
By using pwd and cd commands navigate your directory to the Website folder
Initialize your local repository
git init
Use the copied link from above
git remote add origin https://github.com/yourusername/page.git
git add .
git commit -m createmywebsite
Following command will synchronize all your files to your Github repository
git push origin master
Publishing your website on Github pages
- In your Github repository. Go to settings
- Scroll down to Github pages, choose source > master branch/docs folder
- This will update the page. Scroll down to Github pages again click the link:
e.g. https://yourusername.github.io/page/.
Hoorray! In this step your website should be up and running on Github!
Deploying your Website to Netlify
If you want to benefit from the advantages like continous deployment you can use Netlify.
Go to your Netlify, Click Get started for free and sign up with Github.
- Choose New site from Git
- Choose GitHub at the bottom
- Click on Configure the Netlify app on GitHub.
- On github select your target repository. Save.
- On Netlify pick up that repository.
- Modify Basic build settings: Publish directory should be docs
- Click on Show advanced > New Variable
- Add a New Variable
Modify as Key = HUGO_VERSION and Value = 0.58.1
This step is important otherwise your site will not be built.
If you dont know your hugo version; on Rstudio > type
blogdown::hugo_version()
- Click Deploy
It will allocate you a random link. You have to go back to your config.toml and modify baseurl as we did for Github above but with this netlify link.
After this step you have to push changes to github from your local git. Similarly to the steps above without git init this time.
Netlify will detect those changes you pushed to your github repository and your site will be published in a few seconds.
Hoorray! In this step your website should be up and running on Netlify!
How to use your own domain name
Go to your domain provider e.g I did on Go Daddy
My Products > Scroll down to your domain > Click DNS
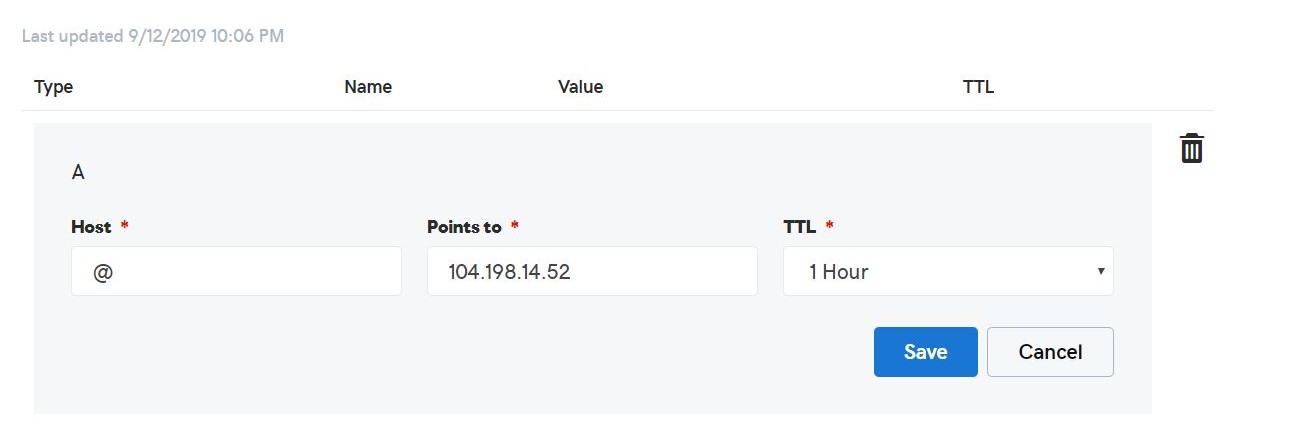
Create new or modify if existing an A record pointing your root domain to Netlify load balancer’s IP address 104.198.14.52 as in below;
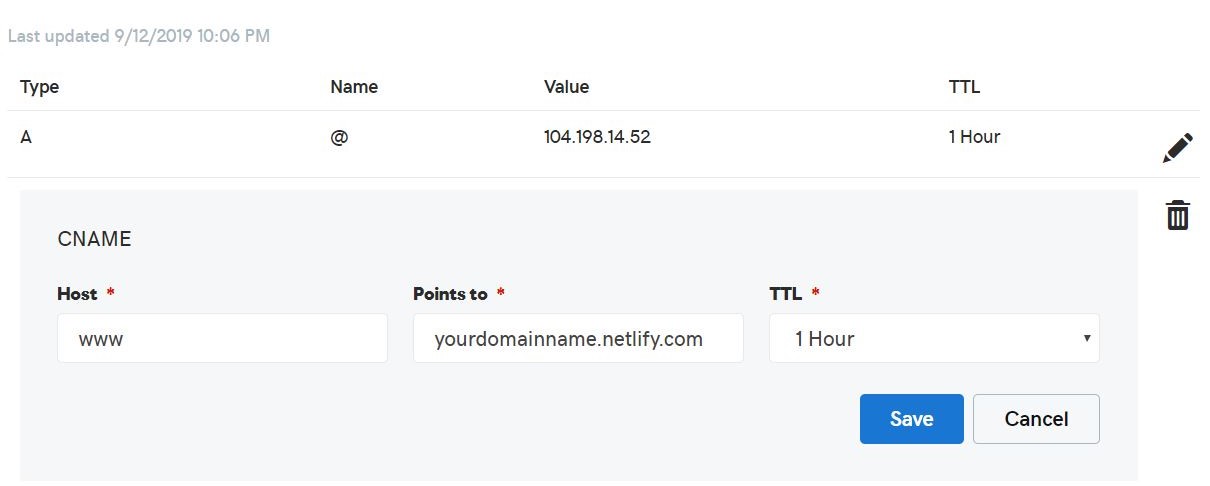
 Add a CNAME file as here;
Go to domain settings on your deploy at Netlify
- Add custom domain
- Fill in your domain name
- Click Verify > Yes, add domain > Verify DNS configuration
Voila, in this step your website should be online at www.yourdomain.com!!
Serdar Korur
Data Scientist and PhD in Molecular Biology
Serdar is a Data Scientist and PhD in Cell Biology